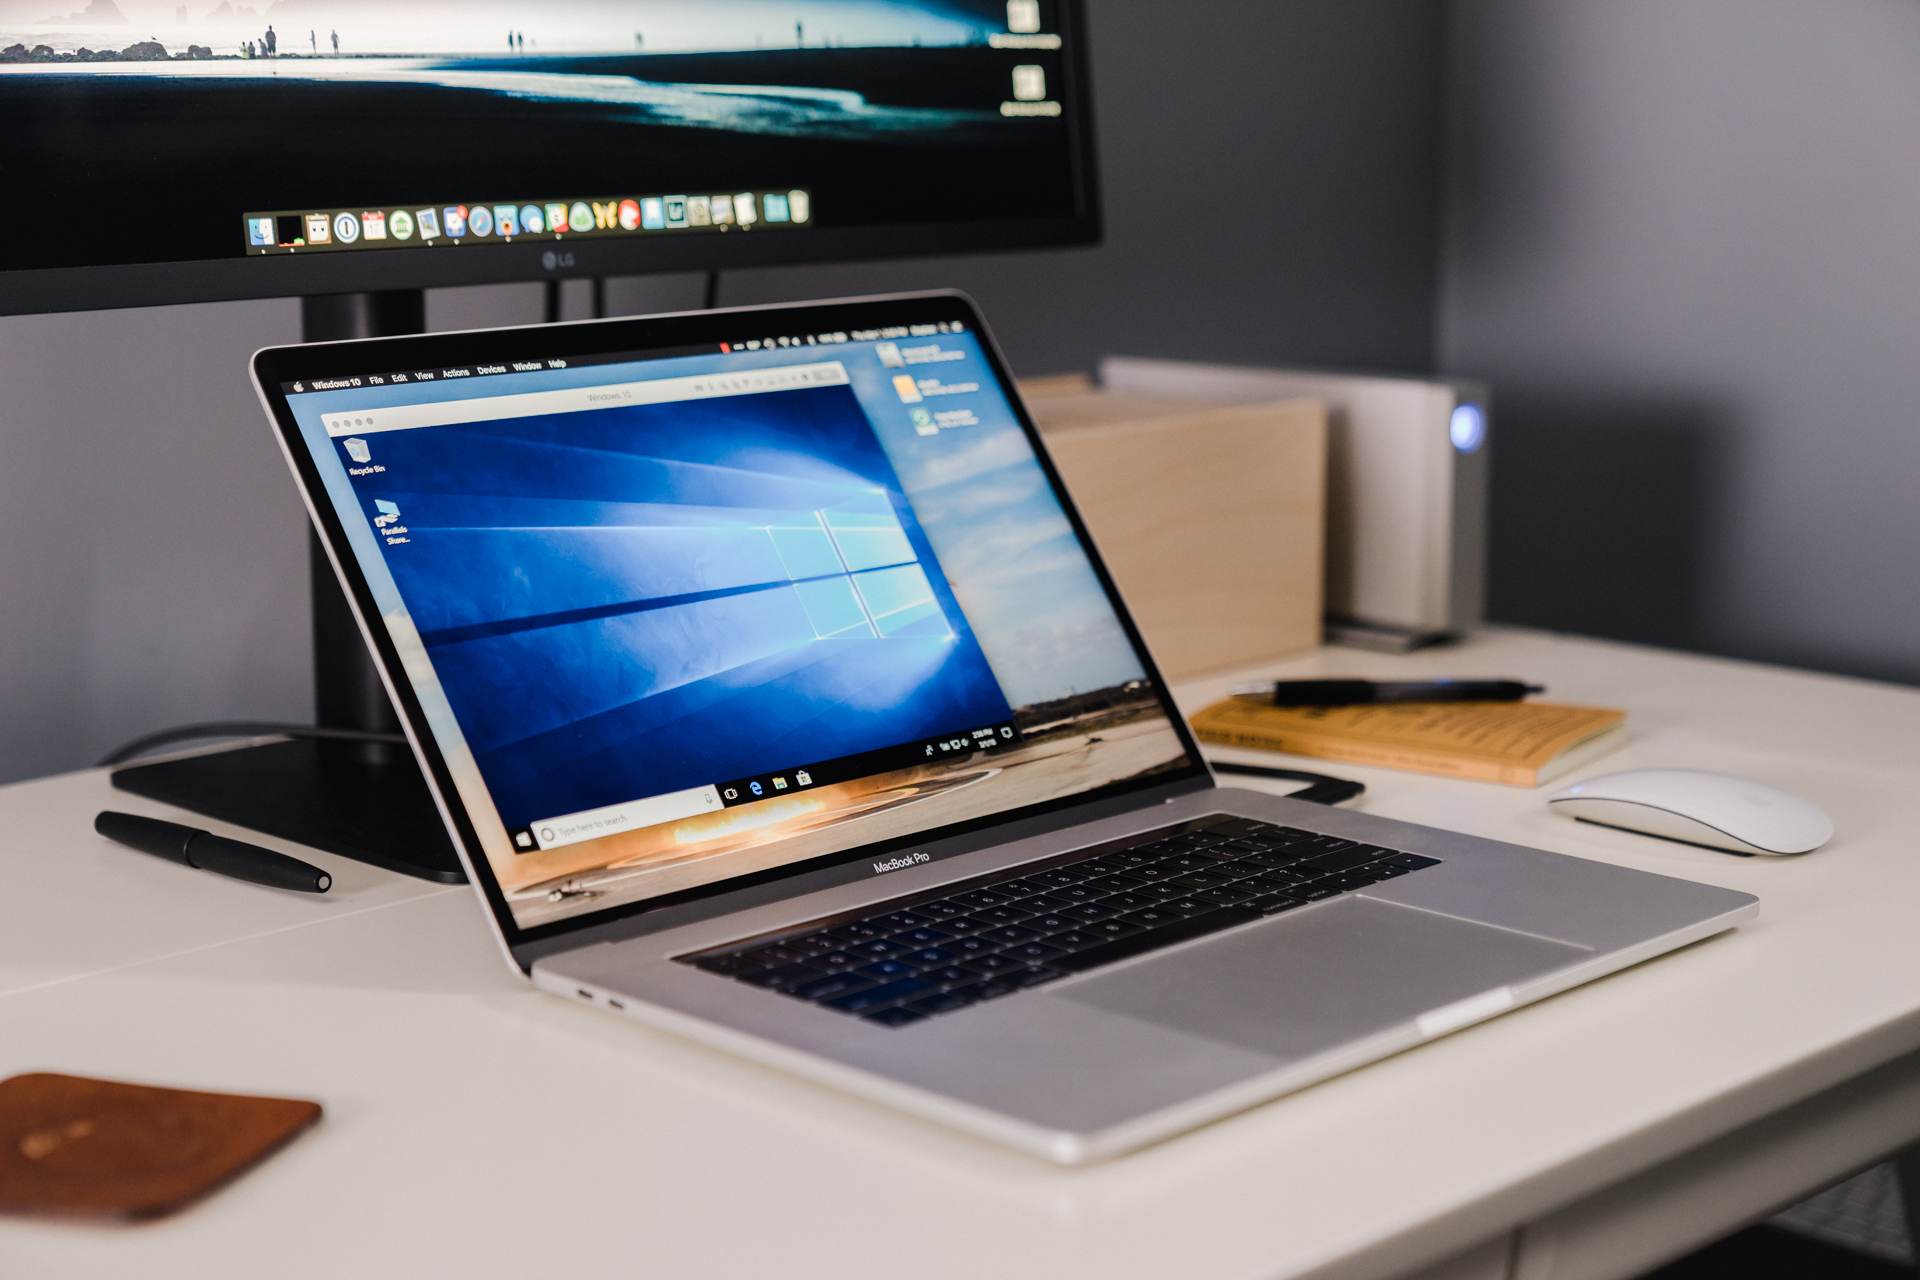
A few days back at an event in World Wide Developers Conference (WWDC 18) that held on June 4th, 2018, at that time Apple released a new operating system that is now bigger and better. The macOS 10.14 Mojave which has come up with lots of amazing cool features. Top among these are better security and performance and a new dark mode. The latter is particularly a cool feature that everyone is talking about and we all want to try it out.
One of the best thing about this new OS is that the 10.14 can install VMware in Windows. For this, all you need is the VMware workstation player and you can run the macOS Mojave on your Windows PC easily with an ease.
What is the VMware workstation player?
It is a virtualization software which allows Windows PC users to run other operating systems within the device. This free virtualization software gives users the chance to use different OS without having to restart every time someone wants to switch from one to the other.
The computer that most of us are using must be 64-bit, the RAM must be at least 6GB and an SSD. If your laptop or computer has all these features then you are all set to go, all you need to do is get the image file of the macOS Mojave 10.14 and VMware software.
Here is a full guide on how you can effectively install macOS Mojave 10.14 on VMware on Windows
Latest preview: 10.14 Beta 1 (18A293u). June 4, 2018
Google Drive (One Full): Download Link
Google Drive (6 of 6): Download Link
Fix Download Limit: https://techsviewer.com/fix-download-limit
All Tool: https://mega.nz/#F!p2BAhCyI!-ai3xBTrLDnUW2q7HJVRNg
Winrar: https://www.rarlab.com/download.htm
VMware Player: http://bit.ly/wmware14
Steps to follow to Install macOS Mojave 10.14 on VMware on Windows
Read More: The 18 Best Mac Tips & Tricks You Should Know
Step 1: Simply extract the macOS Mojave Virtual Image
To do this step all you required is Winrar or 7Zip software and the macOS Mojave 10.14 virtual image file which is in the format of a .vmdk and then also download the macOS VMware image virtual file and keep in mind that where it is stored.
Now you have to go to the folder containing the virtual image file, and right click on Rar file and simply select “Extract Here.”
Step 2: Install the VMWare Player
You can find VMware Player as free virtualization software. Open the link, download VMware and install it in your system.

Step 3: Install Patch Tool
To do this, open the Patch Tool folder. From the files list, right click on “win-install.cmd”. And choose the option of “Run as Administrator”.
Step 4: Create a Virtual machine on VMware
Open the installed VMware player and click on “create new virtual machine”.
The new virtual machine wizard will be opened. Choose to install the operating system later from the options and click on “Next”. Now, in the next page you can simply choose the Guest operating system which in this case is the macOS 10.14. Click on the “Next” button. In the next screen, name the virtual machine and choose where it is to be stored by browsing the location and it is known as VMX folder. Click on the “Next” button. On this screen, specify the storage space to be allocated to the virtual machine. By default it has already been set to 40GB and there is no need to edit it as it will be removed in subsequent steps. Just choose “Store virtual disk as a single file” and click “Next”. Confirm everything and click on “Finish”.
Step 5: Edit the Virtual Machine
Open the software VMware and select “macOS Mojave 10.14”. Click on “Edit the virtual machine” Select Memory tab and set 50% – 65% of your RAM
Set the CPU to 50% – 70%. Click “OK” to effect the changes.
In the list of devices, choose the “Hard Disk” on device menu option. Click on “Remove” button. This removes the virtual hard disk created when first creating the virtual machine.
Then click “Add”.
To make a new virtual disk on VMware, click on Hard Disk on the list of devices then choose “SATA” which is being followed by “Use an Existing disk”.
To select the disk, use the browse button to open the location where the “macOS Mojave 10.14.vmdk” file is stored. Select it and click on “Finish”.
Step 6: Editing the VMX File
The VMX file has the specifications of Virtual Machine. To edit it, open the macOS 10.14 folder where you stored it in the step 4.
Right click on the VMX file and choose “Open with”. Choose “More Apps” and from the list of apps choose “Notepad” and press Enter.
Step 7: Play macOS Mojave
Now simply open the VMware player and click on “play virtual machine”, and create a new account.
After this the macOS Mojave will be set up. This will take few minutes. You will now get to enjoy all the cool features which macOS Mojave has on your Windows computer or laptop.
Conclusion
With the help of a VMware now it is possible to run Mac on Windows PC. This the best free virtualization software out there. With it, You can run a Mac on the same PC hosting the Windows operating system.

